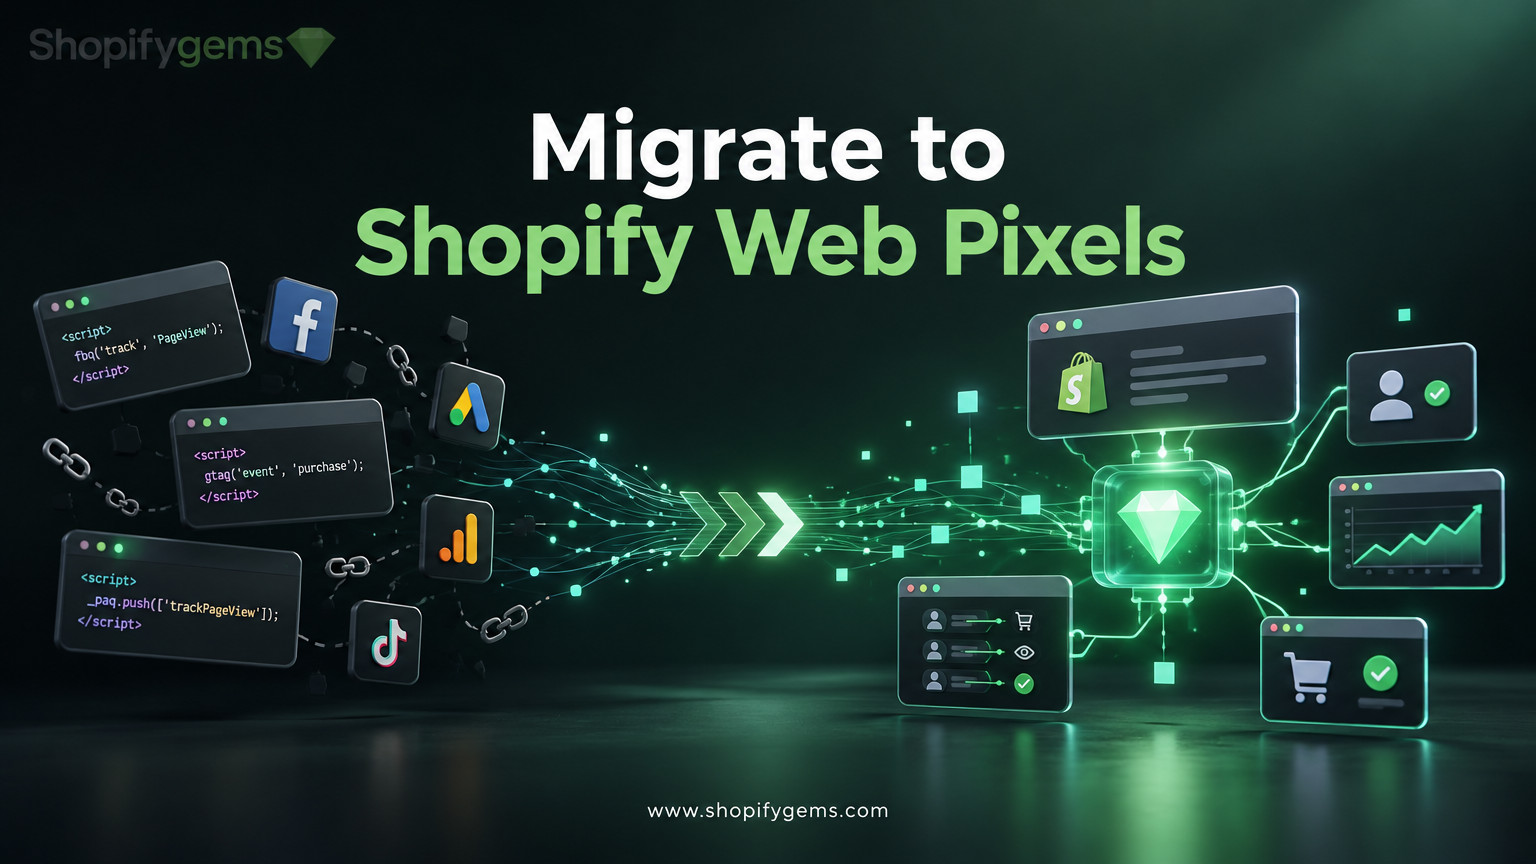
If your Shopify store still relies on traditional ScriptTags for analytics, conversion tracking or marketing integrations, it’s time to review your implementation.
Shopify is moving away from legacy ScriptTags in favour of more controlled integration methods, including the Web Pixels API and theme app extensions. This change affects how developers load JavaScript, collect customer behaviour and connect third-party marketing platforms.
For merchants, the biggest concern is straightforward: how can you migrate existing tracking without losing valuable customer data or disrupting marketing campaigns?
A successful Shopify Script Tag migration requires more than copying existing JavaScript into a new location. You need to understand how Shopify customer events work, identify which tracking methods your integrations require, configure customer privacy settings and verify that everything functions correctly.
This guide walks through the process, including practical implementation examples and testing recommendations.
Quick Answer: What Is the Best Way to Migrate Shopify ScriptTags?
The correct migration method depends on what your existing script does.
Analytics and conversion tracking: Replace the legacy implementation with a Web Pixel using Shopify’s Web Pixels API.
Storefront functionality: Use a theme app extension with an app embed block.
Custom tracking events: Publish events through Shopify’s analytics API and subscribe to them through your pixel.
Third-party tracking integrations: Check whether the provider already offers a Shopify app pixel before building a custom solution.
Shopify announced that creating or updating ScriptTags would stop working from October 1, 2026. Existing storefront ScriptTags are scheduled to stop loading on March 1, 2027. This makes migration an immediate priority for stores and app developers still using the older approach.
1. Understand Why Shopify Is Moving Away from ScriptTags
ScriptTags were traditionally used to load external JavaScript onto Shopify storefronts without requiring merchants to edit their theme files.
They supported various integrations, including:
Google Analytics tracking.
Meta Pixel implementations.
Advertising conversion tracking.
Marketing automation scripts.
Third-party customer behaviour tracking.
Custom JavaScript integrations.
However, traditional ScriptTags introduce limitations around visibility, security, performance and customer privacy.
For example, merchants might not know exactly which scripts are running on their storefront. They also have limited control over how external scripts interact with storefront functionality.
Shopify’s newer integration architecture provides more controlled alternatives.
Shopify ScriptTag deprecation timeline
| Date | What changes |
|---|---|
| October 1, 2026 | Creating and updating ScriptTags through the relevant APIs is no longer supported. |
| November 2026 | Existing storefront ScriptTags continue working, but merchants should migrate. |
| March 1, 2027 | Shopify stops injecting ScriptTags into storefront pages. |
These dates apply to storefront ScriptTags. Order status page ScriptTags follow a separate, earlier deprecation schedule.
You can review the official Shopify ScriptTag deprecation announcement for the complete timeline.
2. Understand the Shopify Web Pixels API
The Shopify Web Pixels API provides developers with a standardised way to subscribe to customer events and send relevant information to analytics and marketing platforms.
Instead of placing traditional tracking scripts directly into storefront pages, Web Pixels operate within Shopify-controlled sandbox environments.
This creates a more structured approach to collecting customer behaviour.
How Web Pixels work
When customers interact with a Shopify store, Shopify publishes customer events through its event system.
Examples include:
Viewing a product.
Adding an item to the cart.
Starting checkout.
Submitting payment information.
Completing an order.
Visiting a collection page.
A Web Pixel subscribes to the relevant events and processes their information.
For example, when a customer views a product, the pixel can capture the event and forward the relevant product information to an external analytics platform.
Understanding the two types of Web Pixels
Shopify supports two main types of Web Pixels.
1. App Pixels
App Pixels are developed as part of Shopify applications.
They operate in a strict sandbox and use Shopify’s supported APIs to access customer events and browser functionality.
They are particularly suitable for developers building reusable integrations for multiple Shopify stores.
2. Custom Pixels
Custom Pixels are manually configured through the Shopify admin.
They are useful when a merchant needs a tracking integration that isn’t already available through an existing Shopify app.
They operate in a lax sandbox and require developers to configure the tracking code, event subscriptions and privacy settings.
Shopify recommends using an existing app pixel where a suitable integration is available.
3. Audit Your Existing Shopify ScriptTags Before Migration
Before writing new tracking code, identify everything currently running on your Shopify store.
Migrating without an audit can lead to missing events, duplicated tracking and unnecessary scripts.
Start by reviewing the following locations:
Theme files
Inspect your theme’s theme.liquid file and other relevant Liquid templates.
Look for:
Google Analytics or Google Tag Manager scripts.
Meta Pixel code.
Custom JavaScript tracking.
External tracking libraries.
Manually inserted conversion scripts.
Shopify admin
Navigate to:
Settings → Customer events
Review the existing app pixels and custom pixels.
Also check your app integrations and marketing applications to identify which tracking scripts they manage automatically.
Checkout-related scripts
If your store previously used checkout.liquid or Additional Scripts, review those implementations separately.
Shopify has made separate changes to checkout and order status page customisation, so a storefront pixel migration should not be treated as a complete replacement for every legacy checkout integration.
Create a tracking inventory
Document each script before removing anything.
| Existing integration | Purpose | Recommended replacement |
|---|---|---|
| Google Analytics tracking | Website analytics | Supported Google app integration or Web Pixel |
| Meta Pixel | Advertising tracking | Meta app pixel or compatible Web Pixel |
| Custom conversion tracking | Purchase measurement | Web Pixel |
| Custom storefront widget | Storefront functionality | Theme app extension |
| Product interaction tracking | Customer behaviour | Web Pixel |
| Custom customer events | Additional tracking | Shopify custom events and Web Pixels |
This inventory becomes your migration checklist and helps prevent accidental removal of important functionality.
4. Choose the Right Web Pixel Migration Approach
Once you’ve identified the existing scripts, decide how each integration should be migrated.
There are two common approaches.
Option A: Use an existing Shopify app pixel
If your tracking provider offers a Shopify application with an app pixel, this is usually the simplest option.
For example, marketing platforms may provide native Shopify integrations that automatically configure tracking and subscribe to relevant customer events.
The process generally involves:
Install the official or supported Shopify application.
Connect your marketing or analytics account.
Configure the required tracking settings.
Enable the relevant customer events.
Verify that the integration is collecting data.
Remove the redundant legacy tracking implementation.
This approach reduces the amount of custom development required and allows the app provider to maintain its integration.
Option B: Create a custom Web Pixel
If there isn’t an appropriate app integration, you can create a custom pixel.
This is particularly useful when you need to send customer events to an internal analytics platform, a custom marketing endpoint or a third-party service without a dedicated Shopify app.
Custom pixels require JavaScript knowledge and careful attention to Shopify’s sandbox and privacy requirements.
Shopify provides an official custom pixel implementation guide.
5. Create Your Custom Shopify Pixel
The next step is to build the replacement tracking implementation.
For merchants using Custom Pixels, the setup begins inside Shopify admin.
Navigate to:
Settings → Customer events → Add custom pixel
Give your pixel a descriptive name, then add the JavaScript implementation.
Before writing code, identify which customer events your tracking integration needs.
Common examples include:
| Customer event | Tracking purpose |
|---|---|
page_viewed | Track page visits |
product_viewed | Track product engagement |
product_added_to_cart | Measure add-to-cart activity |
checkout_started | Measure checkout initiation |
checkout_completed | Measure completed purchases |
search_submitted | Track storefront searches |
Shopify maintains an official standard customer events reference containing supported events and their associated data structures.
Example: Subscribe to Shopify customer events
The following example demonstrates how a Custom Pixel can subscribe to product views and completed purchases.
analytics.subscribe('product_viewed', (event) => {
  const product = event.data.productVariant;

  console.log('Product viewed:', {
    title: product.title,
    price: product.price.amount
  });
});

analytics.subscribe('checkout_completed', (event) => {
  console.log('Checkout completed:', event.data.checkout);
});
This is a basic event-listening example. It demonstrates how to access event information, rather than implementing a complete third-party tracking integration.
Example: Forward an event to an external endpoint
You can also send event information to an external analytics service.
analytics.subscribe('product_viewed', (event) => {
  const product = event.data.productVariant;

  const payload = {
    event_name: event.name,
    product_title: product.title,
    product_price: product.price.amount,
    event_id: event.id,
    timestamp: event.timestamp
  };

  fetch('https://example.com/analytics', {
    method: 'POST',
    headers: {
      'Content-Type': 'application/json'
    },
    body: JSON.stringify(payload),
    keepalive: true
  });
});
Replace the example endpoint with your actual analytics endpoint and adapt the payload to the receiving platform’s requirements.
For production implementations, also consider endpoint authentication, error handling, data minimisation and the receiving service’s event specification.
6. Configure Customer Privacy and Consent Settings
One of the most important differences between traditional tracking scripts and Shopify Web Pixels is privacy management.
Web Pixels respect Shopify’s customer privacy settings.
This means tracking behaviour can depend on whether a visitor has provided the required consent.
For example, a pixel configured to require marketing consent should not collect marketing data before the required permission is available.
What should you configure?
Review the following settings:
Analytics consent requirements.
Marketing consent requirements.
Customer data sale opt-out requirements, where applicable.
Regional privacy requirements.
Third-party cookie consent integrations.
Navigate to:
Settings → Customer privacy
Check whether your cookie banner and privacy configuration are correctly integrated with Shopify.
If you’re using an external consent management platform, verify that it synchronises customer consent through Shopify’s Customer Privacy API.
Otherwise, visitors might accept cookies through your third-party banner while Shopify continues treating their consent as unavailable.
Shopify explains these requirements in its Web Pixels privacy documentation.
7. Test Your Shopify Web Pixel Migration
A successful implementation isn’t simply one where the pixel appears in Shopify admin.
You need to confirm that the correct events are being collected and forwarded.
Testing should happen before removing the old tracking implementation permanently.
Step 1: Test individual customer events
Open your storefront and perform several customer actions.
For example:
Visit the homepage.
Open a product page.
Add a product to the cart.
Start checkout.
Complete a test purchase.
Check whether the corresponding events are triggered.
Step 2: Check event payloads
Use browser developer tools and your analytics platform’s debugging tools to inspect outgoing requests.
Confirm that the events contain the required information.
For purchase tracking, pay particular attention to:
Order or transaction identifiers.
Currency.
Purchase value.
Product information.
Quantity.
Event timestamps.
Step 3: Check for duplicate tracking
Running an old tracking implementation alongside a replacement can cause duplicate events.
For example, the same purchase might be recorded by both a legacy Meta Pixel implementation and a newly configured app pixel.
Check your theme files, installed apps and Customer events settings for overlapping implementations.
Step 4: Verify consent behaviour
Test your implementation with different consent states.
Check whether:
Tracking behaves correctly before consent.
Required events are captured after consent.
Opt-out preferences are respected.
Third-party consent tools synchronise correctly.
Step 5: Compare analytics data
Compare the previous and new implementations using the same analytics platform and equivalent testing conditions.
Don’t expect every metric to match perfectly.
Shopify notes that some differences in event counts can occur because of sandbox behaviour, privacy settings and bot filtering.
8. Common Shopify Web Pixels Migration Mistakes to Avoid
Even technically correct migrations can create problems if the implementation isn’t planned properly.
Here are some common mistakes to watch for.
1. Replacing every ScriptTag with a Web Pixel
Web Pixels are designed for customer event tracking, not general storefront functionality.
If your original script adds widgets, modifies page elements or injects interface components, use a theme app extension instead.
2. Removing legacy tracking too early
Deleting the old implementation before confirming that its replacement works can create gaps in your analytics data.
Test the replacement before completing the switch, while avoiding overlapping tracking for longer than necessary.
3. Ignoring customer privacy requirements
A tracking implementation that doesn’t respect consent requirements can create compliance risks and prevent expected events from firing.
Always review privacy configuration as part of the migration.
4. Assuming every browser API is available
Web Pixels run in sandboxed environments.
Traditional scripts that depend on unrestricted access to window, document or direct DOM manipulation might not work.
Use Shopify’s supported APIs and event payloads instead.
5. Forgetting custom customer events
Some stores rely on custom tracking events that aren’t covered by Shopify’s standard event list.
These need to be identified and recreated using Shopify’s custom event publishing and subscription mechanisms.
6. Ignoring duplicate purchase events
Duplicate purchase events can distort conversion reporting and advertising optimisation.
Check that the same conversion isn’t being sent through multiple active integrations.
9. Final Shopify Script Tag Migration Checklist
Before considering your migration complete, work through this checklist.
A structured migration reduces the likelihood of losing important customer behaviour data and helps maintain more consistent reporting.
Conclusion
Shopify’s move towards the Web Pixels API represents an important change in how merchants and developers manage customer tracking.
Although migrating existing ScriptTags requires some technical work, it also creates an opportunity to review outdated integrations, simplify tracking implementations and improve privacy management.
The most important starting point is understanding what each existing script actually does. Analytics and conversion-tracking scripts should generally move to Web Pixels, while storefront functionality should be handled through theme app extensions.
If your store still relies on legacy tracking implementations, don’t wait until the final deprecation deadline to address them.
At ShopifyGems, we help Shopify merchants build, optimise and maintain reliable ecommerce experiences. Whether you need help migrating legacy tracking, integrating third-party services or improving your store’s technical infrastructure, our team can help you plan an implementation that supports your business as Shopify evolves.
Need help reviewing your Shopify integrations? Contact ShopifyGems to discuss your development requirements.
Frequently Asked Questions
1. What is the Shopify Web Pixels API?
The Shopify Web Pixels API is a developer interface that allows tracking integrations to subscribe to customer events and collect behavioural data. It provides a controlled environment for connecting Shopify stores with analytics and marketing platforms.
2. Are Shopify ScriptTags being deprecated?
Yes. Shopify stopped allowing new ScriptTags to be created or updated through the relevant APIs on October 1, 2026. Existing storefront ScriptTags are scheduled to stop loading on March 1, 2027.
3. Can I migrate Google Analytics tracking to Shopify Web Pixels?
Yes. You can use an appropriate Shopify app integration or a compatible Web Pixel implementation to collect customer events and send them to Google Analytics. Check the provider’s current integration instructions before replacing existing tracking code.
4. What is the difference between Shopify App Pixels and Custom Pixels?
App Pixels are developed and distributed through Shopify applications and operate in a strict sandbox. Custom Pixels are manually configured through Shopify admin and operate in a lax sandbox. Both can subscribe to Shopify customer events, but their development and configuration capabilities differ.
5. Do Shopify Web Pixels support checkout tracking?
Yes. Web Pixels can subscribe to supported checkout events, including checkout_started and checkout_completed. The exact event data and availability depend on the event and supported Shopify surface.
6. Will migrating to Web Pixels affect my analytics data?
It can. Changes in event definitions, consent requirements, sandbox behaviour and duplicate tracking can affect reported numbers. Testing the new implementation and comparing equivalent events helps identify discrepancies.
7. Can I use Google Tag Manager with Shopify Web Pixels?
Yes. Google Tag Manager can be integrated through a compatible Shopify pixel implementation. However, it must be configured to work within Shopify’s pixel sandbox and supported APIs rather than assuming unrestricted access to the storefront.
8. Should I remove my old ScriptTags immediately?
Not necessarily. First identify what each ScriptTag does and confirm that its replacement works. Remove redundant implementations carefully to avoid gaps in tracking or duplicated events.